No products in the cart.
So Simple by Arenda Holladay
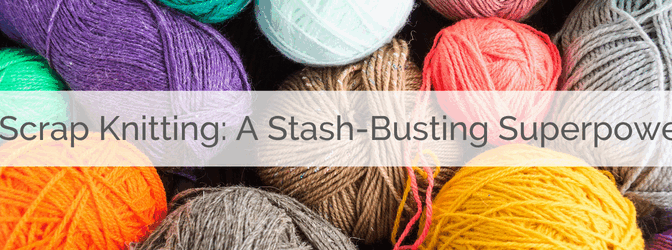
Confident Beginner Winter 2023–2024

Beyond the Pattern

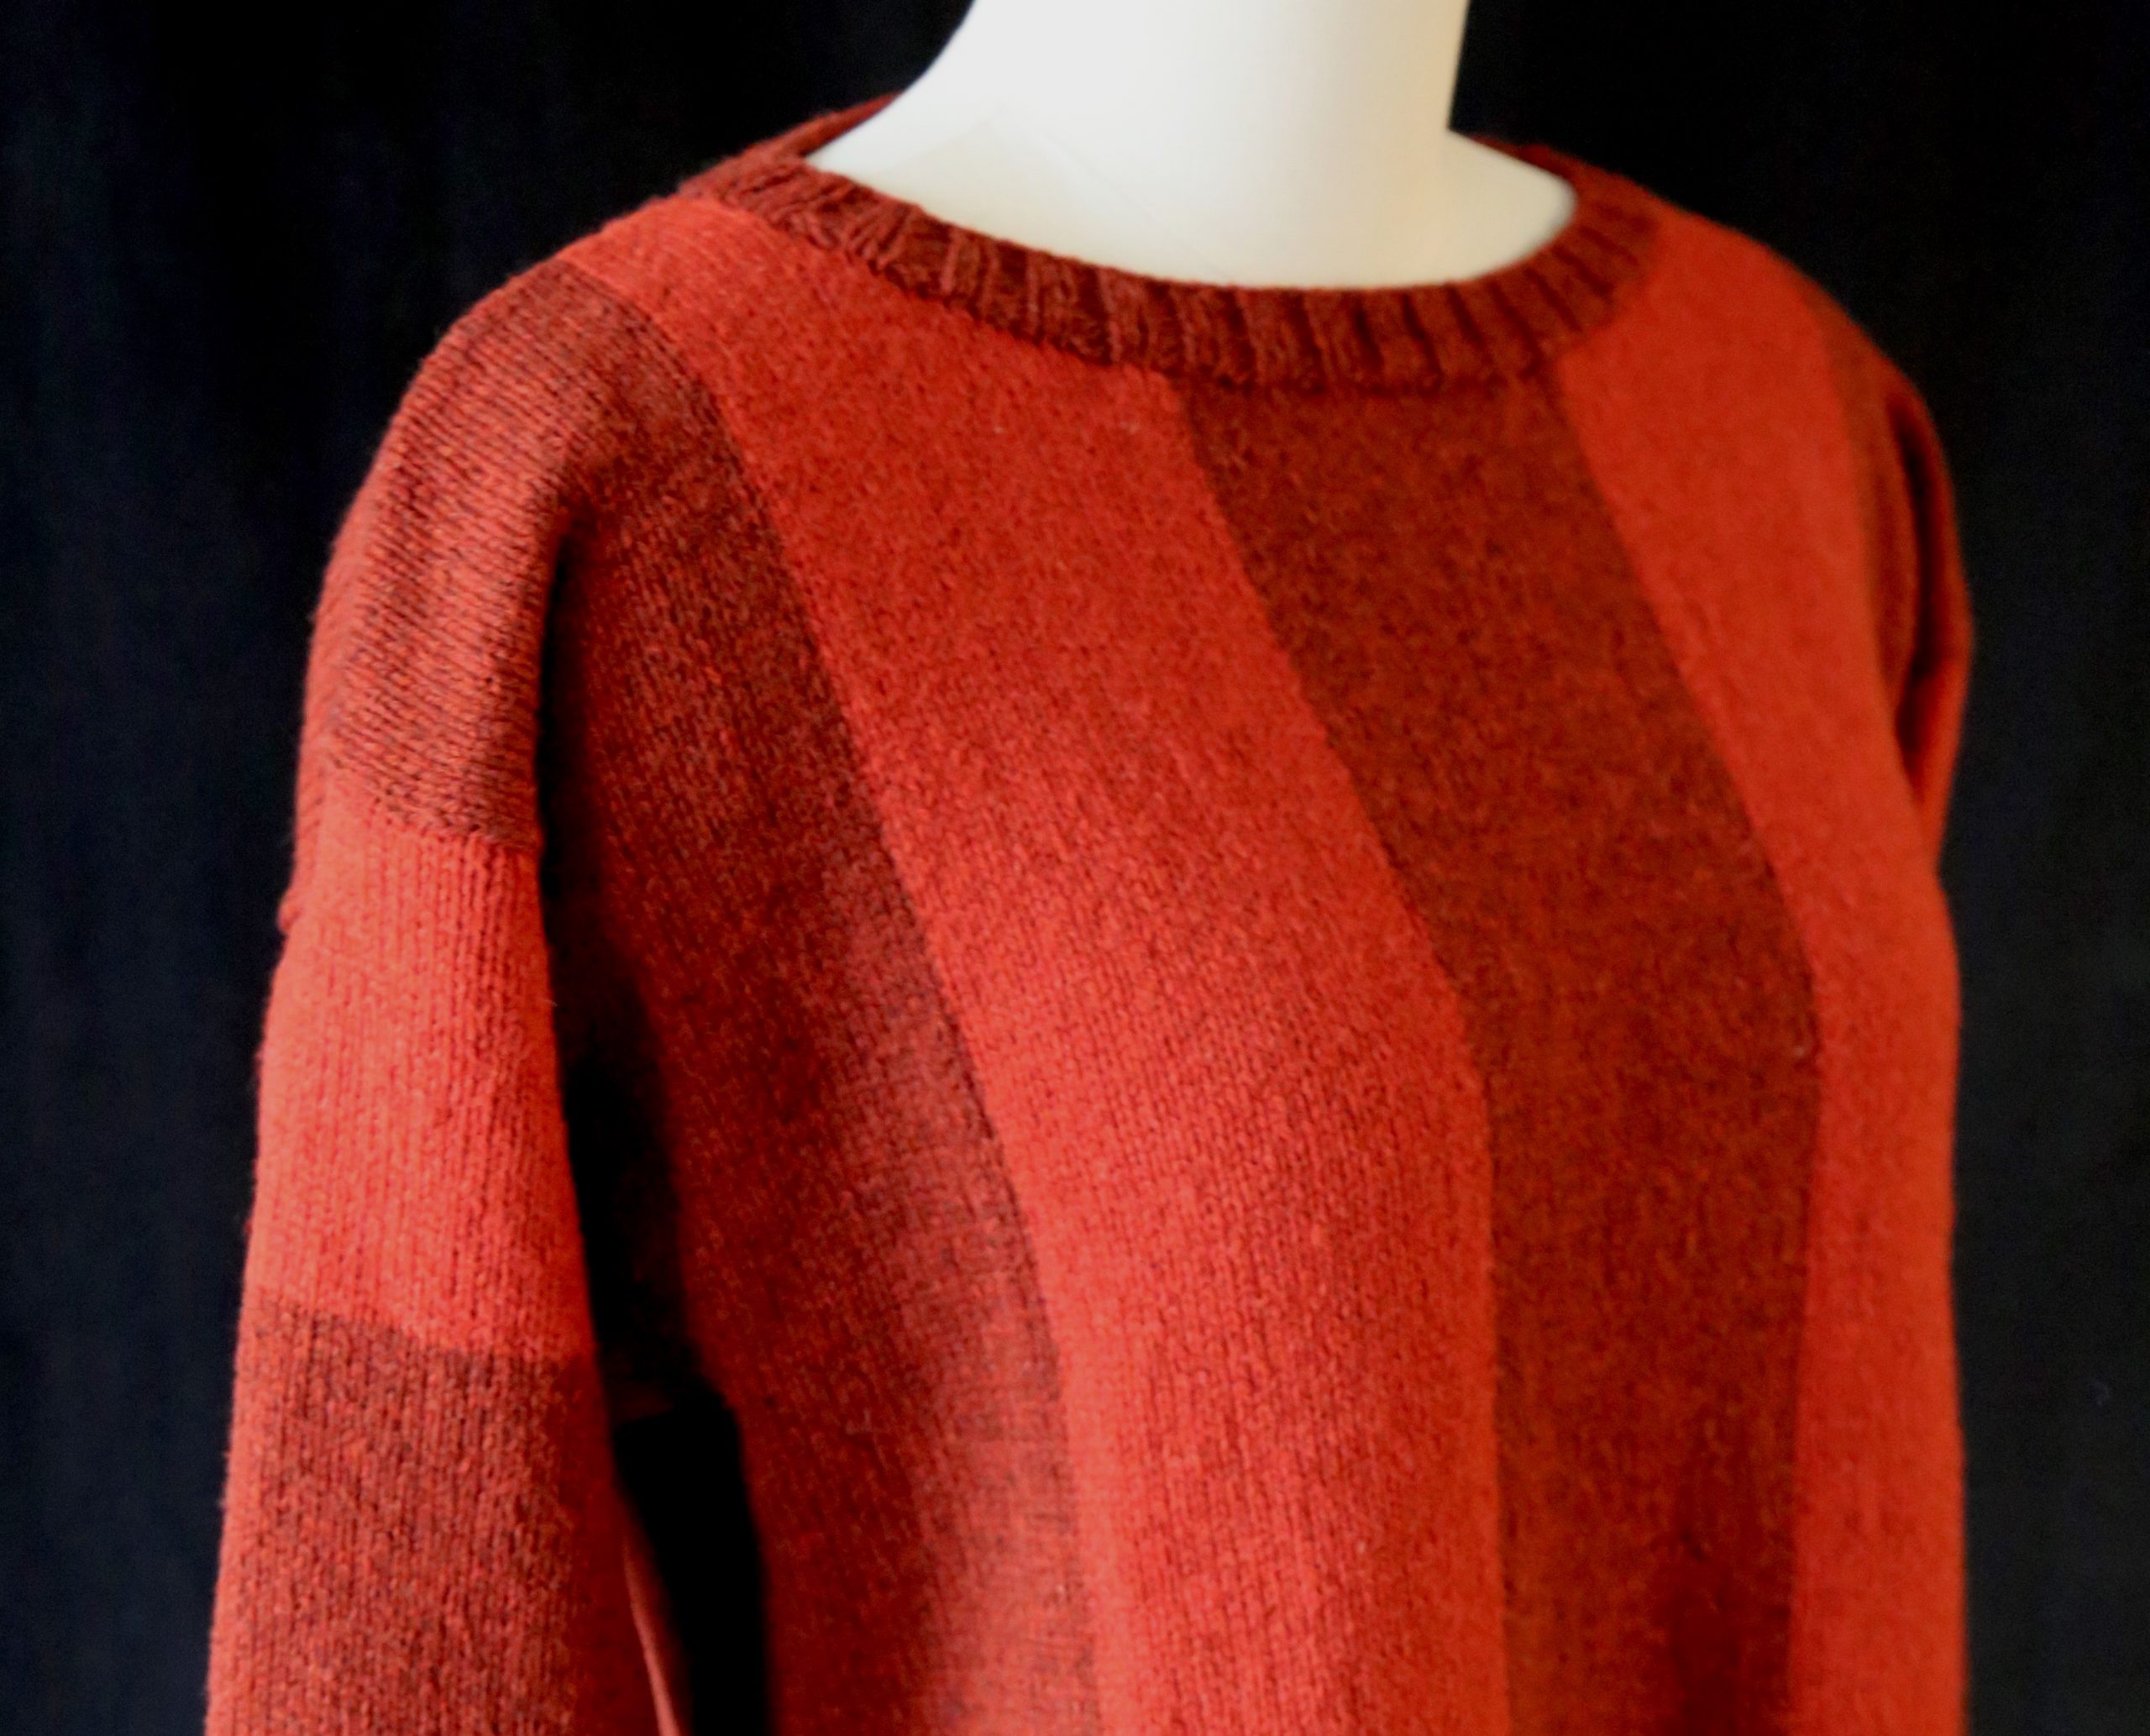
The name “So Simple” really describes this striped sweater except for one little thing. The intarsia technique is used to create the stripes. Many knitters, including myself, dread intarsia projects since yarn management can be so frustrating. Although this pattern accompanies the Skill Building article on picking up stitches along a bound-off edge, it is also an introduction to intarsia due to the simple stripes. All sizes have five stripes (whose width depends on the size) on the front and back. Since the drop-shoulder construction is used for the sleeves, and the wide front neckline is a series of bound-off stitches, there is minimal shaping, which allows the knitter to concentrate on the intarsia technique.
Vertical joins in intarsia are often marred by tension issues where the stitches vary dramatically in size from row to row. The Technical Tips in the pattern address this issue.
Sizes
XS (S, M, L) [1X, 2X, 3X] {4X, 5X, 6X}
Finished Measurements
Chest: 32 (36, 38, 42) [48, 52, 54] {58, 64, 68}”
Length: 19 (19, 20, 20) [21, 21, 21] {22, 22, 22}”
Materials
Brooklyn Tweed TONES LIGHT (225yds/206m, 50g/1.76oz, 100% American Columbia Wool): 4 (4, 5, 5) [6, 6, 7] {7, 8, 8} skeins Acer Undertone (Color A) and 1 (1, 2, 2) [3, 3, 4] {4, 5, 5} skeins Acer Overtone (Color B)
Size 4 (3.5mm) circular needles or size needed to obtain gauge
Tapestry needle
Gauge
In St st, 25 sts & 36 rows = 4″/10cm. To save time, take time to check gauge.
Abbreviations
EOR—End of row.
DESIGNER NOTE—The bottom band is worked in K2P2 ribbing, using Color A. The first stitch of each row is slipped to provide a selvedge treatment for the vents. The bands are not seamed at the sides.

Back
Using Color A, CO 100 (110, 120, 130) [150, 160, 170] {180, 200, 210} sts.
Sizes XS (M, 2X, 4X, 5X) Only
Next Row (WS): Sl 1, p2, *k2, p2; rep from * to last st, p1.
Sizes S (L, 1X, 3X, 6X) Only
Next Row (WS): Sl 1, k2, *p2, k2; rep from * to last 3 sts, p3.
All Sizes
Slipping the first st of every row, Work in pat as est until the band measures 1.75″, ending with a WS row.
TECHNICAL TIPS—Once the band is complete, you begin the intarsia stripes. If you have not worked intarsia before, yarn management is crucial. Since a ball of yarn is required for each stripe you might want to use a full skein of each for the stripes. For Sizes XS and S, wind the skein of Color B into two skeins.
TECHNICAL TIPS—Once the band is complete, you begin the intarsia stripes. If you have not worked intarsia before, yarn management is crucial. Since a ball of yarn is required for each stripe you might want to use a full skein of each for the stripes. For Sizes XS and S, wind the skein of Color B into two skeins.
For the first row, work each color at the color change, leaving a 6″ tail. On the following rows, bring up the new color under the old color. For more information, refer to the Stitch Anatomy article.
Many knitters have tension problems at the beginning and ending of rows, and vertical color joins are basically just that: the beginning and ending of rows. When you begin the new color, the tendency is to pull the working yarn tightly. All this does is pull yarn from the previous row, making those stitches even smaller. Work the first few stitches at normal tension and then give the yarn a tug. When you come to the end of a color, take care to work the stitch with just your needle tips. This prevents the final stitch from stretching out.

If you still have tension issues, try working the first stitch normally and then wrap the next two stitches in the opposite direction. On the next row, remember to work those stitches through the back loop.
Begin Stripes
Next Row (RS): *Using Color A, k20 (22, 24, 26) [30, 32, 34] {36, 40, 42}, using Color B, k20 (22, 24, 26) [30, 32, 34] {36, 40, 42}; rep from * one time, then using Color A, work to EOR. Work in pat as est until the back measures 19 (19, 20, 20) [21, 21, 21] {22, 22, 22}”. BO.
DESIGNER NOTE—The front is worked as the back until the neckline shaping.
Front
Work as for the Back until the piece measures 17 (17, 17.5, 17.5) [18, 18, 18] {18.5, 18.5, 18.5}”, ending on a WS row.

Neckline Shaping
Working in pat as est, k44 (48, 52, 56) [63, 66, 69] {72, 80, 83} sts, BO 12 (14, 16, 18) [24, 28, 32], {36, 40, 44} sts, work to EOR.
Sizes XS (S, M, L) Only
Working each side separately, at each neck edge, BO 7 sts, then 5 sts, then 4 sts, then 2 sts 1 (2, 2, 3) time(s), then 1 st 1 (0, 0, 0)—25 (28, 32, 34) sts rem on each shoulder.
Sizes 1X (2X, 3X, 4X) Only
Working each side separately, at each neck edge, BO 7 sts, then 5 sts 2 times, then 4 sts, then 2 sts 2 times—38 (41, 44, 47) sts rem on each shoulder.
Sizes 5X (6X) Only
Working each side separately, at each neck edge, BO 7 sts, then 5 sts 3 times, then 4 sts, then 2 sts 2 times—50 (53) sts rem on each shoulder.
All Sizes
Work in pat as est until piece measures 19 (19, 20, 20) [21, 21, 21] {22, 22, 22}”. BO.
Sleeves (Make 2)
Using Color A, CO 50 (50, 54, 54) [58, 58, 58] {62, 62, 62} sts.
Next Row (WS): P3, *k2, p2; rep from * to last 3 sts, k3. Work in pat as est until the cuff measures 1.75″, ending with a WS row.
After the cuff is complete and 1″ is worked in stockinette, increases are worked at the sides. I used lifted increases but any increase technique will work.
DESIGNER NOTES—Check to see if the specified length is too long for your taste. They are designed to extend past the wrist. Note that Color B is used at the very top of the sleeve. The length of the top portion depends on the size you are working. The width of the section in Color B corresponds to the width of the stripes in the body.

Sleeve Increases
Sizes XS and S Only
Inc 1 st at each side every 4th row 8 times, then every 6th row 18 times—102 sts.
Sizes M and L Only
Inc Row (RS): Inc 1 st at each side every 4th row 12 times, then every 6th row 23 times—124 sts.
Sizes 1X (2X, 3X) Only
Inc Row (RS): Inc 1 st at each side every 4th row 16 times, every 6th row 20 times, then every 8th row 2 times—134 sts.
Sizes 4X (5X, 6X) Only
Inc Row (RS): Inc 1 st at each side every 4th row 18 times, every 6th row 19 times, then every 8th row 4 times—144 sts.
All Sizes
Work in pat until the piece measures 14 (13.75, 18.5, 18) [19.25, 19, 18.5] {20.25, 19.5, 19.25}”. Using Color B, work even until the sleeve measures 17.25 (17.25, 22.25, 22.25) [24, 24, 24] {26, 26, 26}”. BO.
Finishing
Block all pieces. Note that the bottom and cuff borders are blocked flat in the sample.
DESIGNER NOTE—Since the neckband is worked in K2P2 ribbing, take care to pick up a multiple of 4 stitches so that the pattern is maintained.
Seam the shoulders. Beg at the right shoulder seam, pick up stitches along the neckline. Work 0.875″ in ribbing. BO in pat.
Seam the top of the sleeves to the side of the sweater. Seam the sides of the body, taking care to begin the seam above the ribbing. Seam the sleeve sides.


Article Associated with Pattern — Picking Up Stitches-Horizontal Edges
Free Resources – Download Free Pattern
Copyright 2024, The Knitting Guild Association, Cast On Winter 2023-2024, All Rights Reserved